Diy

DIY Tarp Tent UPDATE 2

This post should have been made about a month ago…

I finished my tarp, but I have not had a chance to get out and properly test it. With winter coming, I’m not likely going to get out until spring. I might try to get out a hike over the winter, but I am a fair weather backpacker.

While operating the seweing maching and producing consistent hems was not easy, I was a surprised at how quickly I was able to pick up the skill. No one will mistake my work for that of a professional, but I’m reasonably confident that the tarp will fit my needs and enhance my backpacking kit. Patience was a big factor. I found that I was able to sit down and focus for about an hour or so and then had to take breaks.

Here are a couple photos of the finished product set up in my backyard.

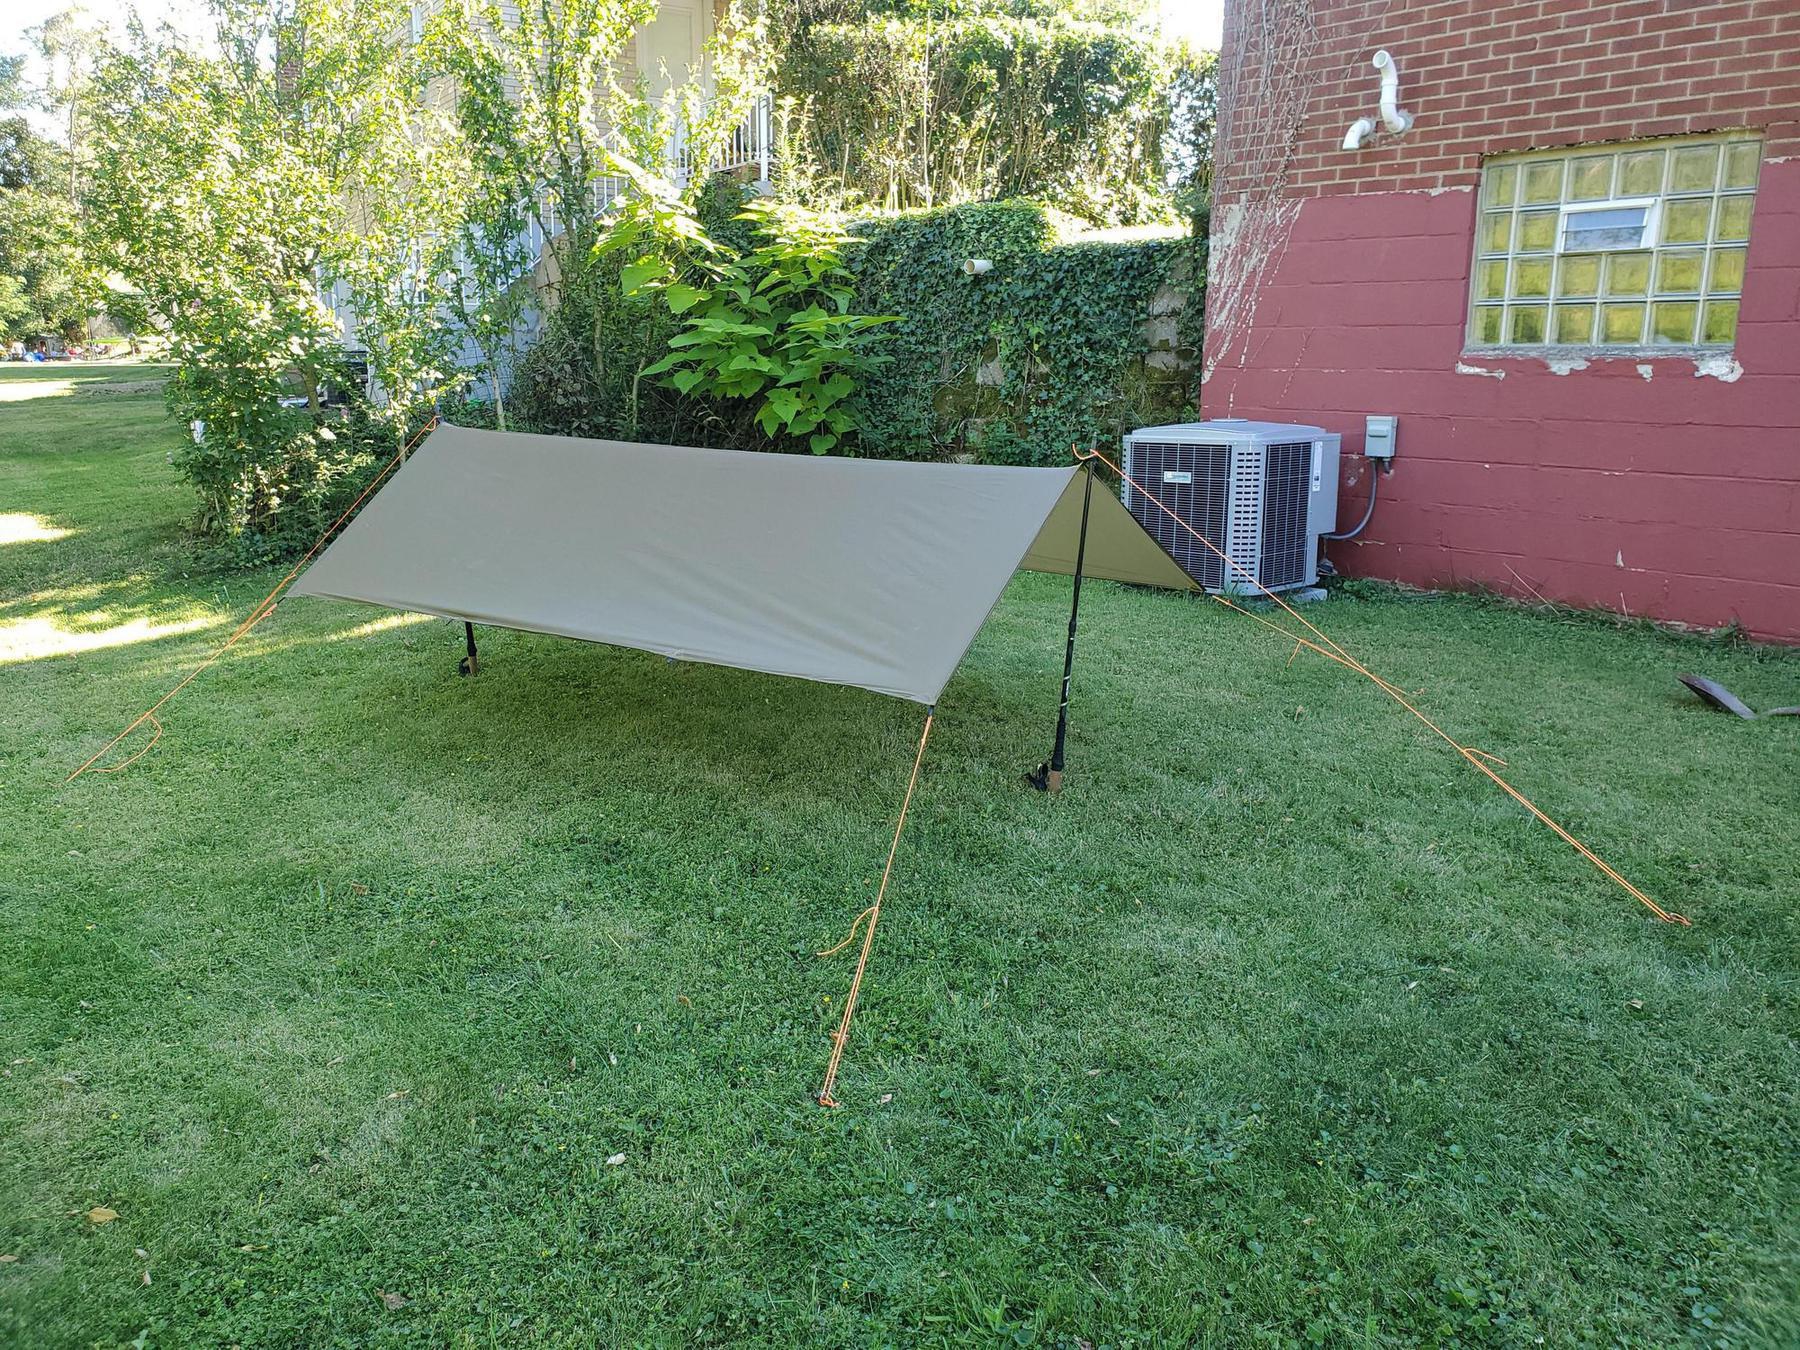
The final dimensions are approx. 9’ long x 6’ wide and it weighs about 16oz. I have tie-out loops at all four corners and at approx. 3’ intervals along the long edges for a total of eight. Each tie-out loop is about 1”. At the ridge line, I attached 1” D-rings at the ends to accomodate a standard a-frame setup with trekking poles.


D-Ring Attachment at ridge line.

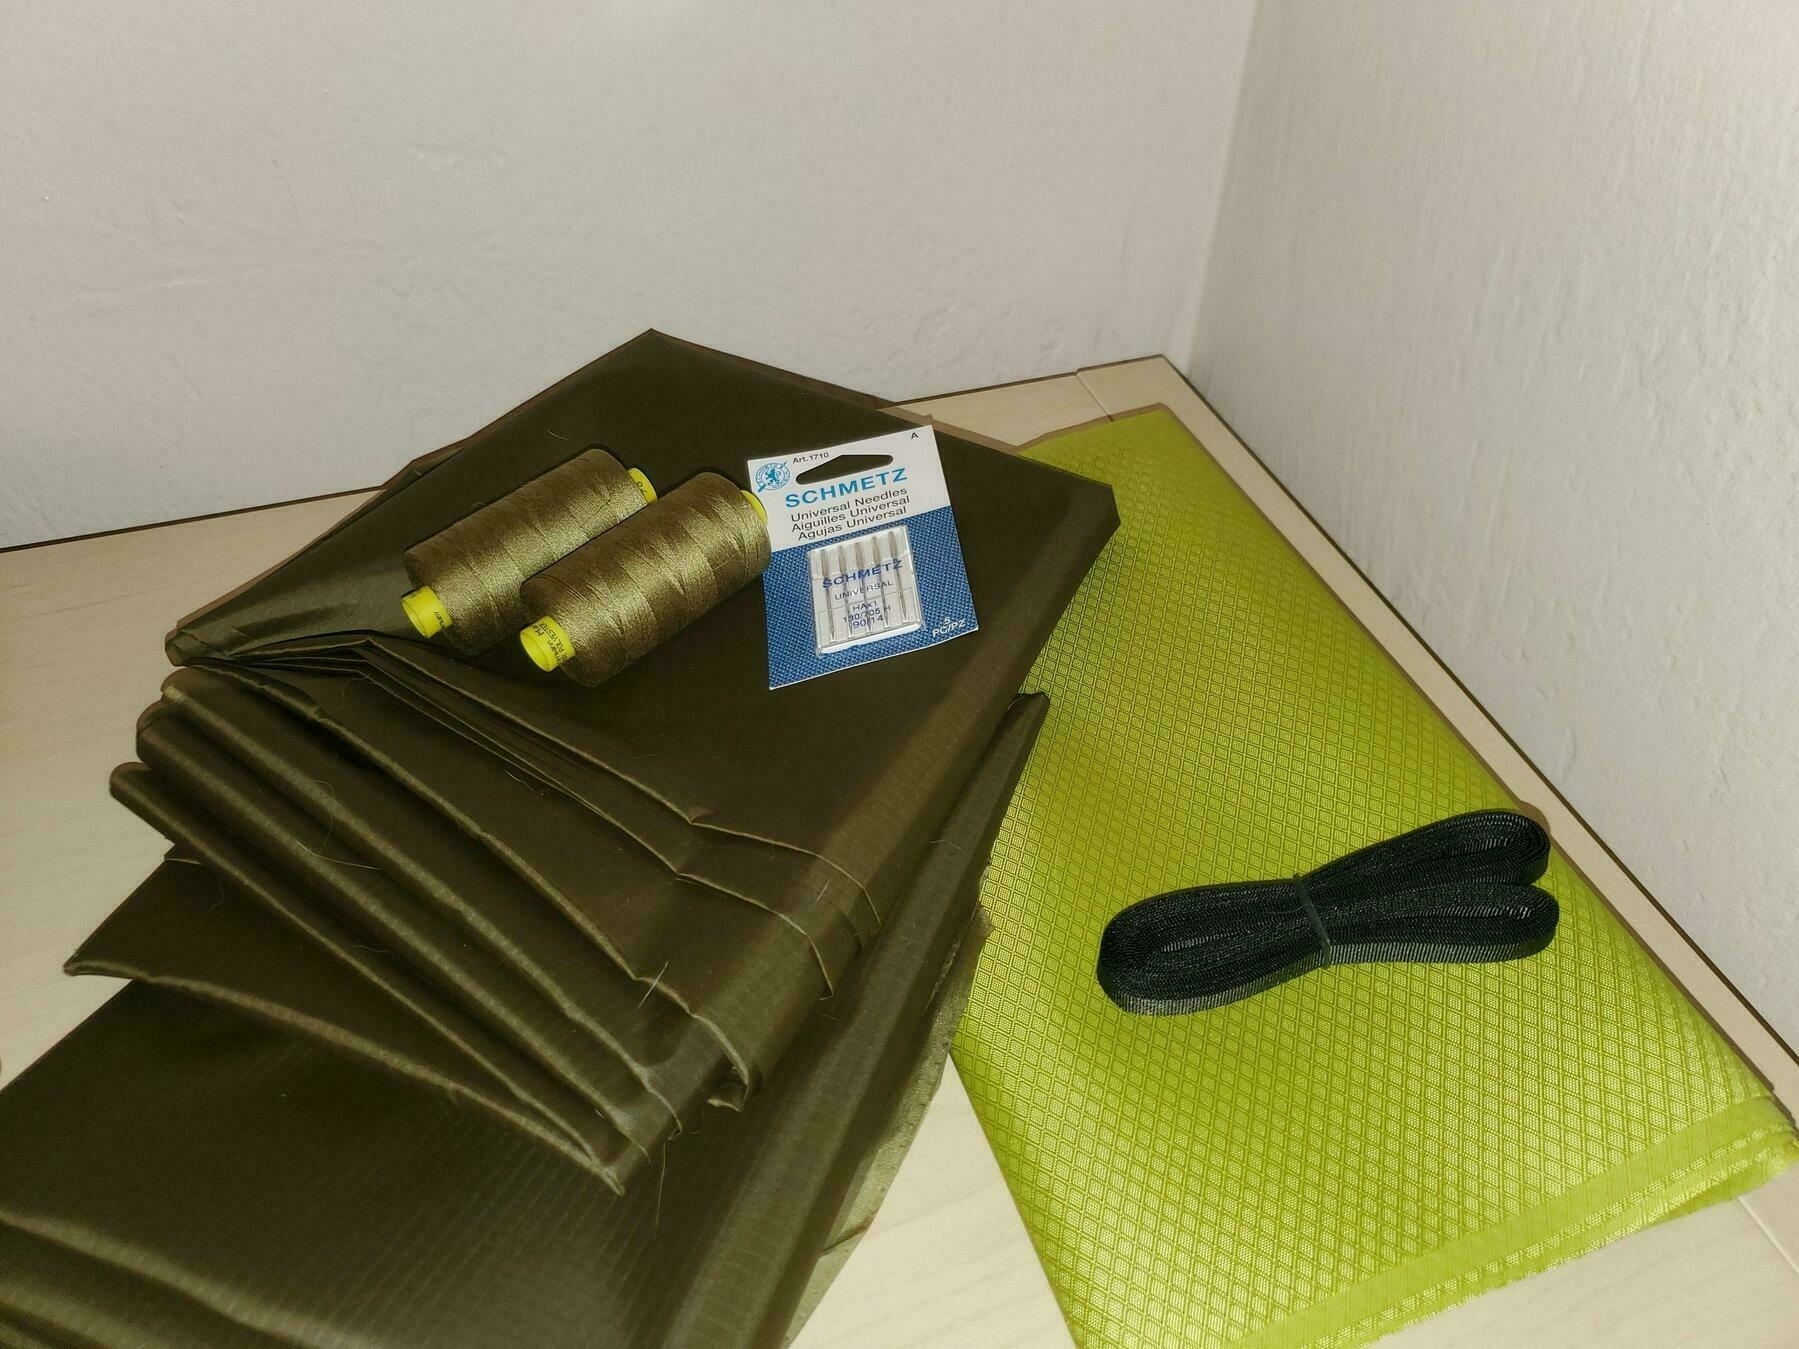
I used the heavier material to reinforce all of the tie-outs as seen below.
Top of a corner tie-out

Bottom of a corner tie-out

A couple of thoughts:

  • I may add additional loops on the underside of the ridge line. These would serve as connection points for rope to hold my bug net off my face. Also could be used for a clothes line on a rainy day.
  • I used 3/8” grosgrain ribbon for the tie-outs and I think ½” probably would have been better.
  • I used 1” d-rings and think that ¾” would have been better assuming the trekking pole tip would fit through.
  • I bought WAY too much thread!
  • Total cost was about $85.00
  • Thank you to my wife and mother-in-law for the sewing machine and crash course in using it.

    DIY Tarp Tent UPDATE 1

    I ordered the material for my tarp tent and I’ve already made my first mistake.

    I decided to go with 1.1oz Silpoly (Olive Drab) as the main fabric and HyperD 300 (Olive Yellow) to reinforce the corners. I order 9yds of the silpoly and 1yd of the HyperD. The mistake came when I only ordered a 3 yard length of the silpoly. That is appropriate for the length but it would only cover half the width. So I quickly ordered a second 3 yard cut and that has saved me the trouble of cutting a 9 yard length of fabric in half.

    I also ordered some thread (Guterman MARA 70), nylon grosgrain (for loops at the corners) and a pack of needles.

    Next I’m going to come up with a quick sketch, to make sure I have the tie-off points where I want them, and I have to get a sewing machine and learn how to use it.

    DIY Tarp Tent Project Plan

    Day 18: Identify one project you’d like to complete with your hands, whether chore or craft. Detail the steps, the resources, and the help you’ll need to complete the project. Then, set about doing it! (AoM: Jumpstart Your Journaling)

    A couple of years ago I switched my backpacking shelter from a tent to a tarp. I purchased the Mountain Laurel Design Solo Grace tarp. It’s worked great and is extremely light, but I’d like a tarp with a little bit larger footprint and a little bit more versatility. So I have been thinking about making my own, straight-cut, lightweight tarp.

    I’m going to have to do some research on material although I will likely stick with silnylon. I will also have to settle on the overall dimensions of the tarp. I already know that I want a rectangular shape so at most I will only have to stitch two panels together. Ideally, I’ll be able to get a single piece of silnylon that is large enough and then come up with some tie-off points. I plan to do some google-ing and watching some youtube videos to figure out how to construct the tie-off loops.

    The biggest challenge will be learning how to use a seweing machine. I’m probably going to have to practice a little bit before actually putting together the tarp.